Detailed Installation Guide
"Wave - Minimal Handle and Locks for Internal Doors"
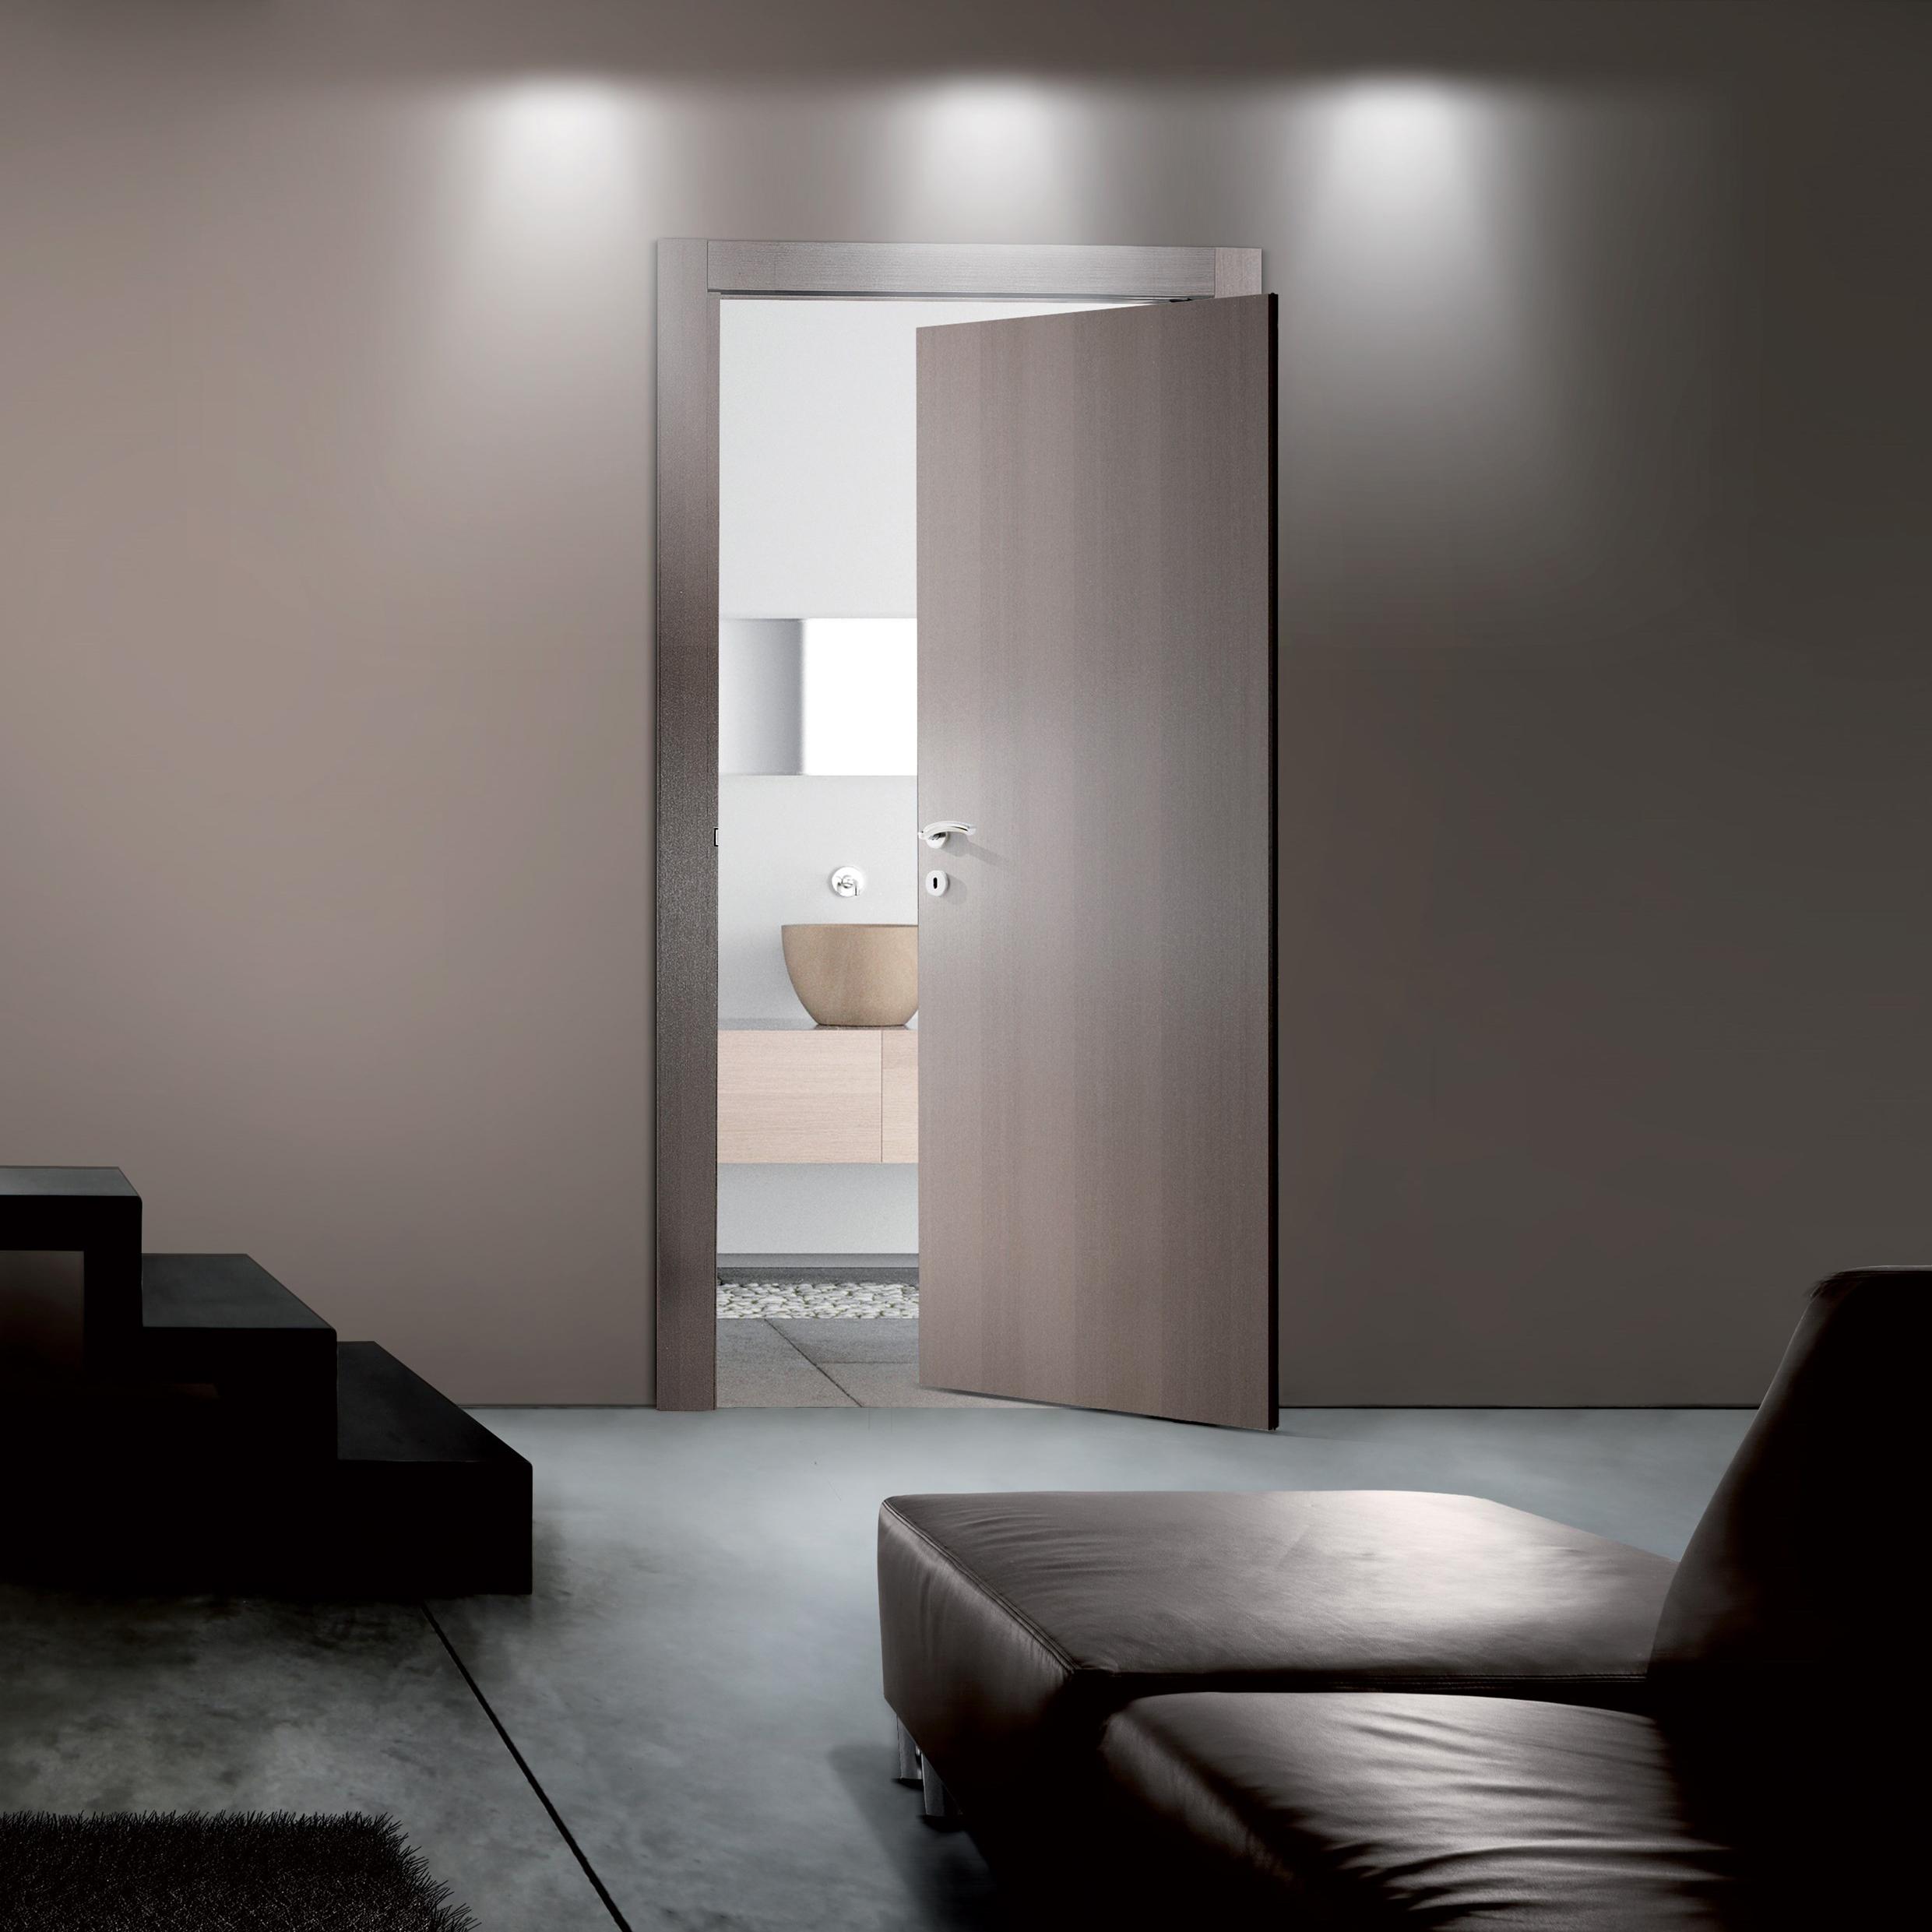
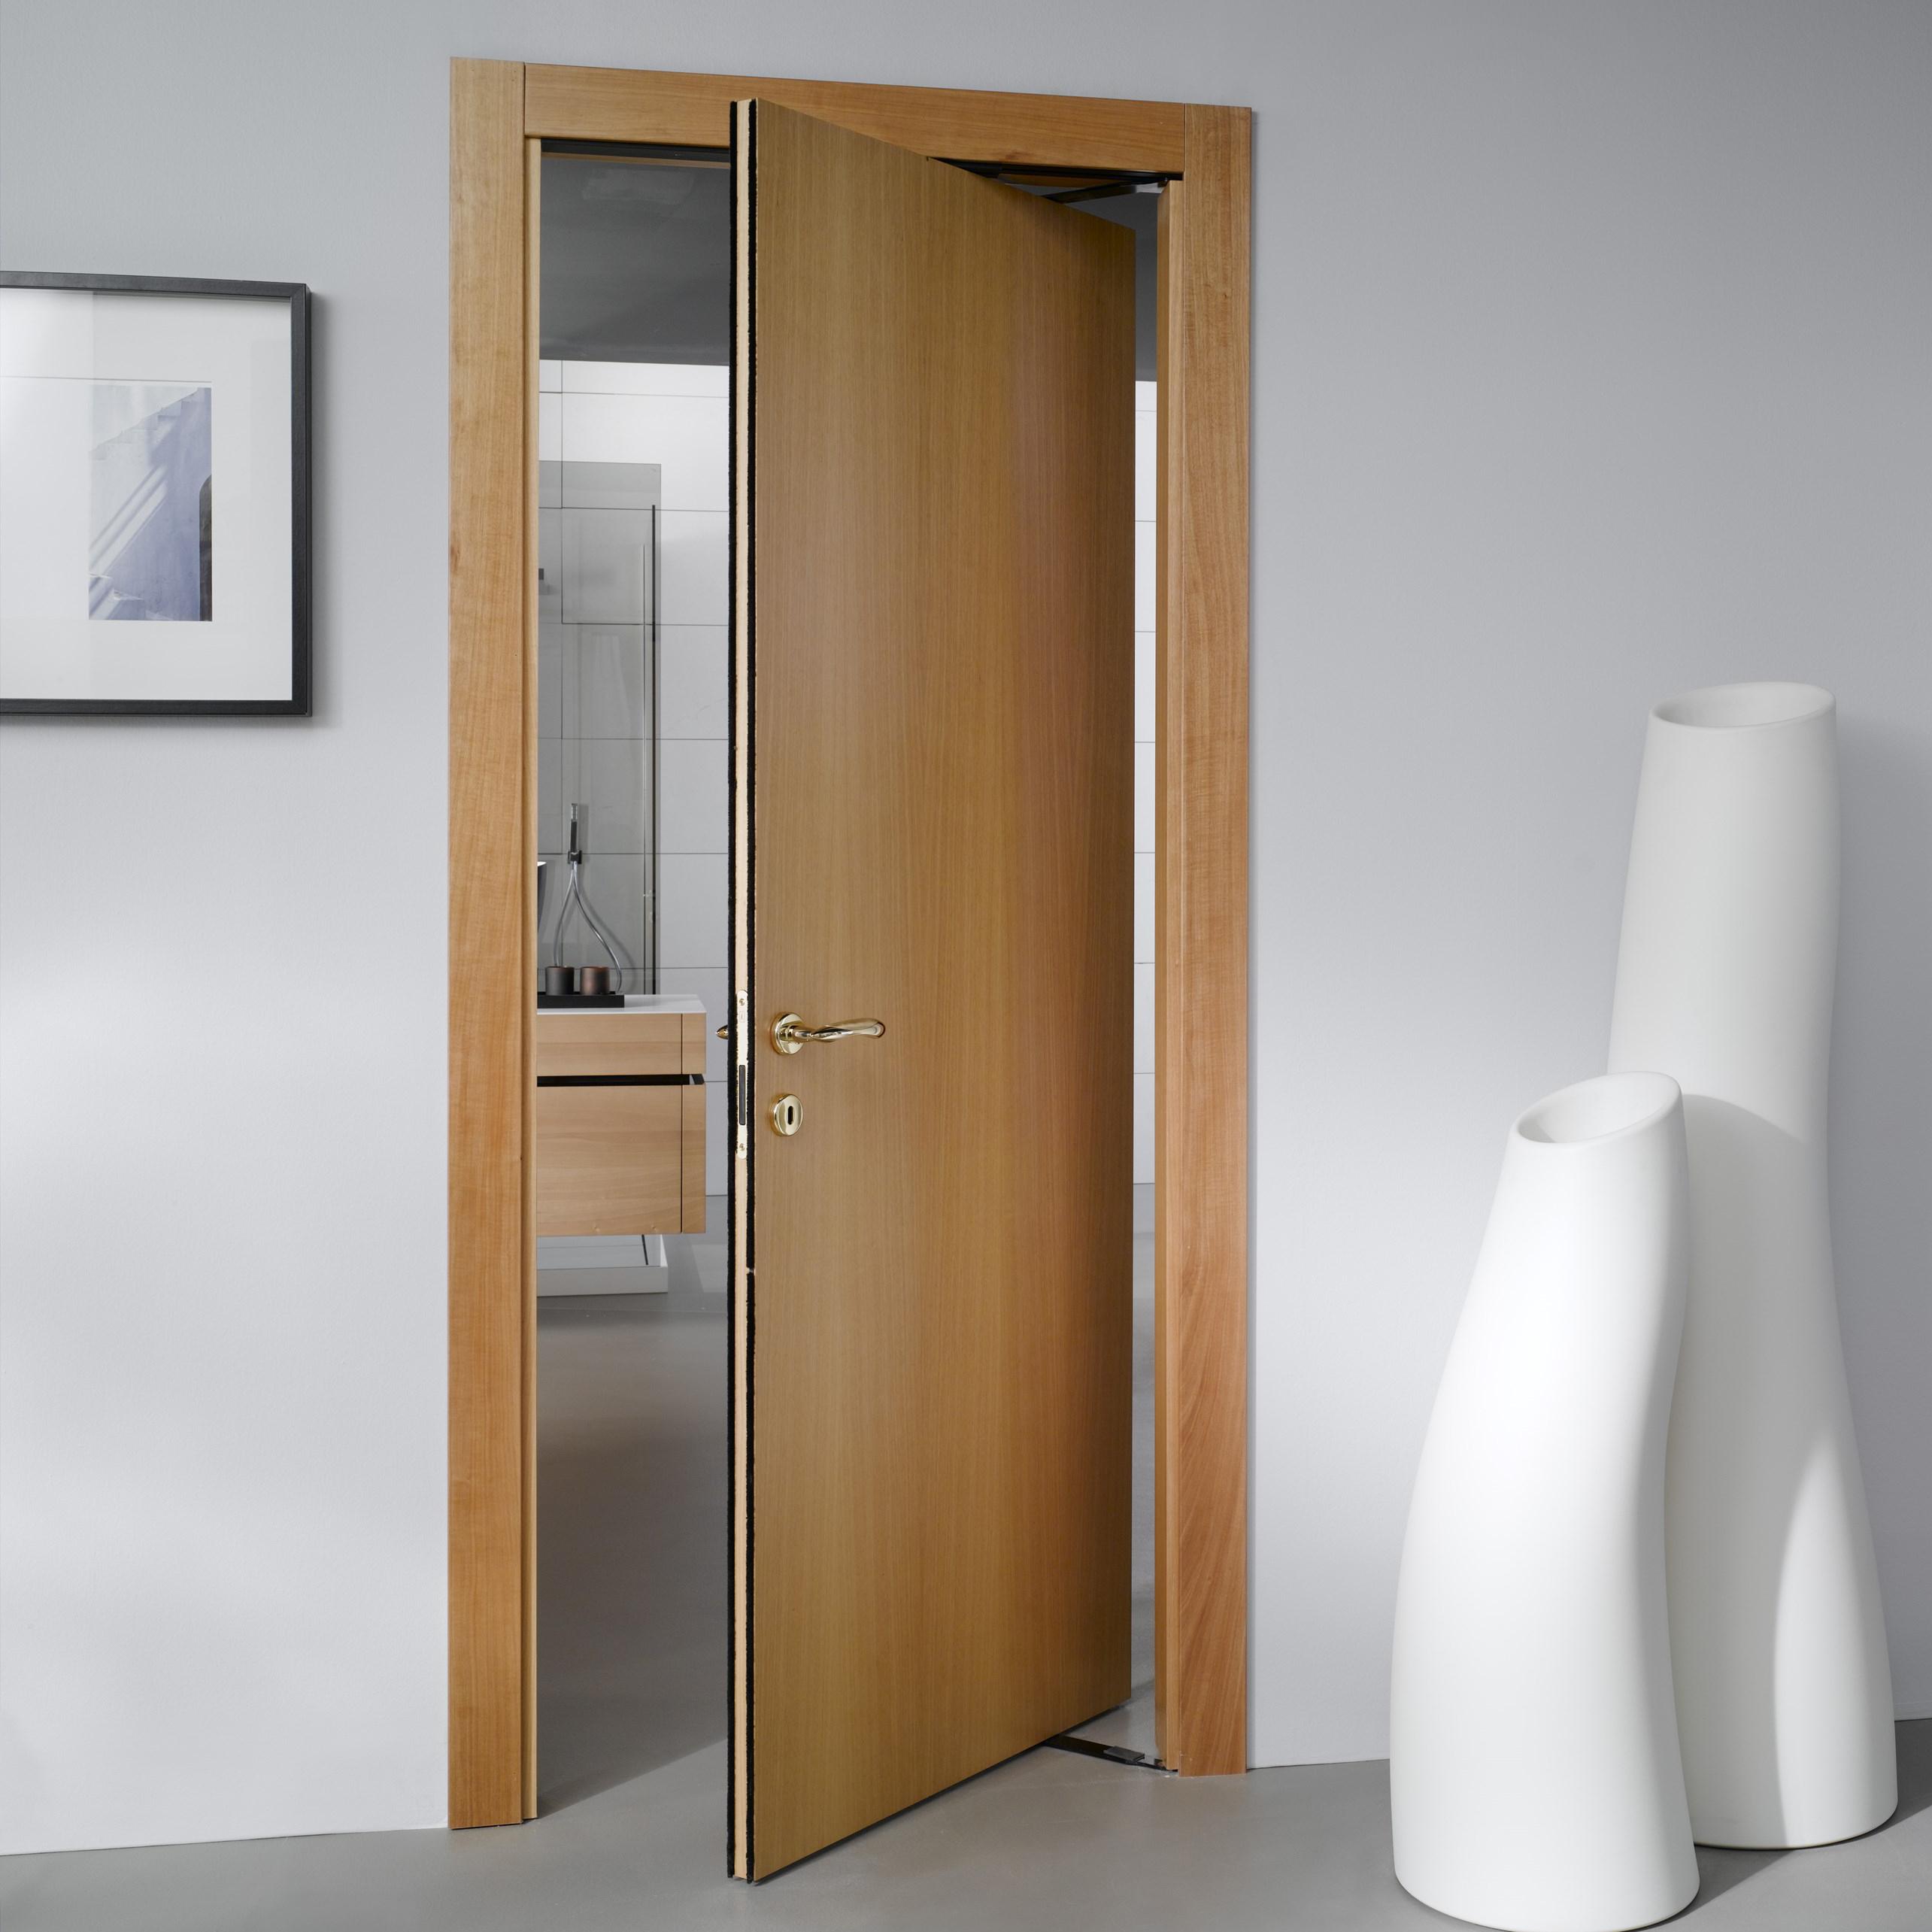
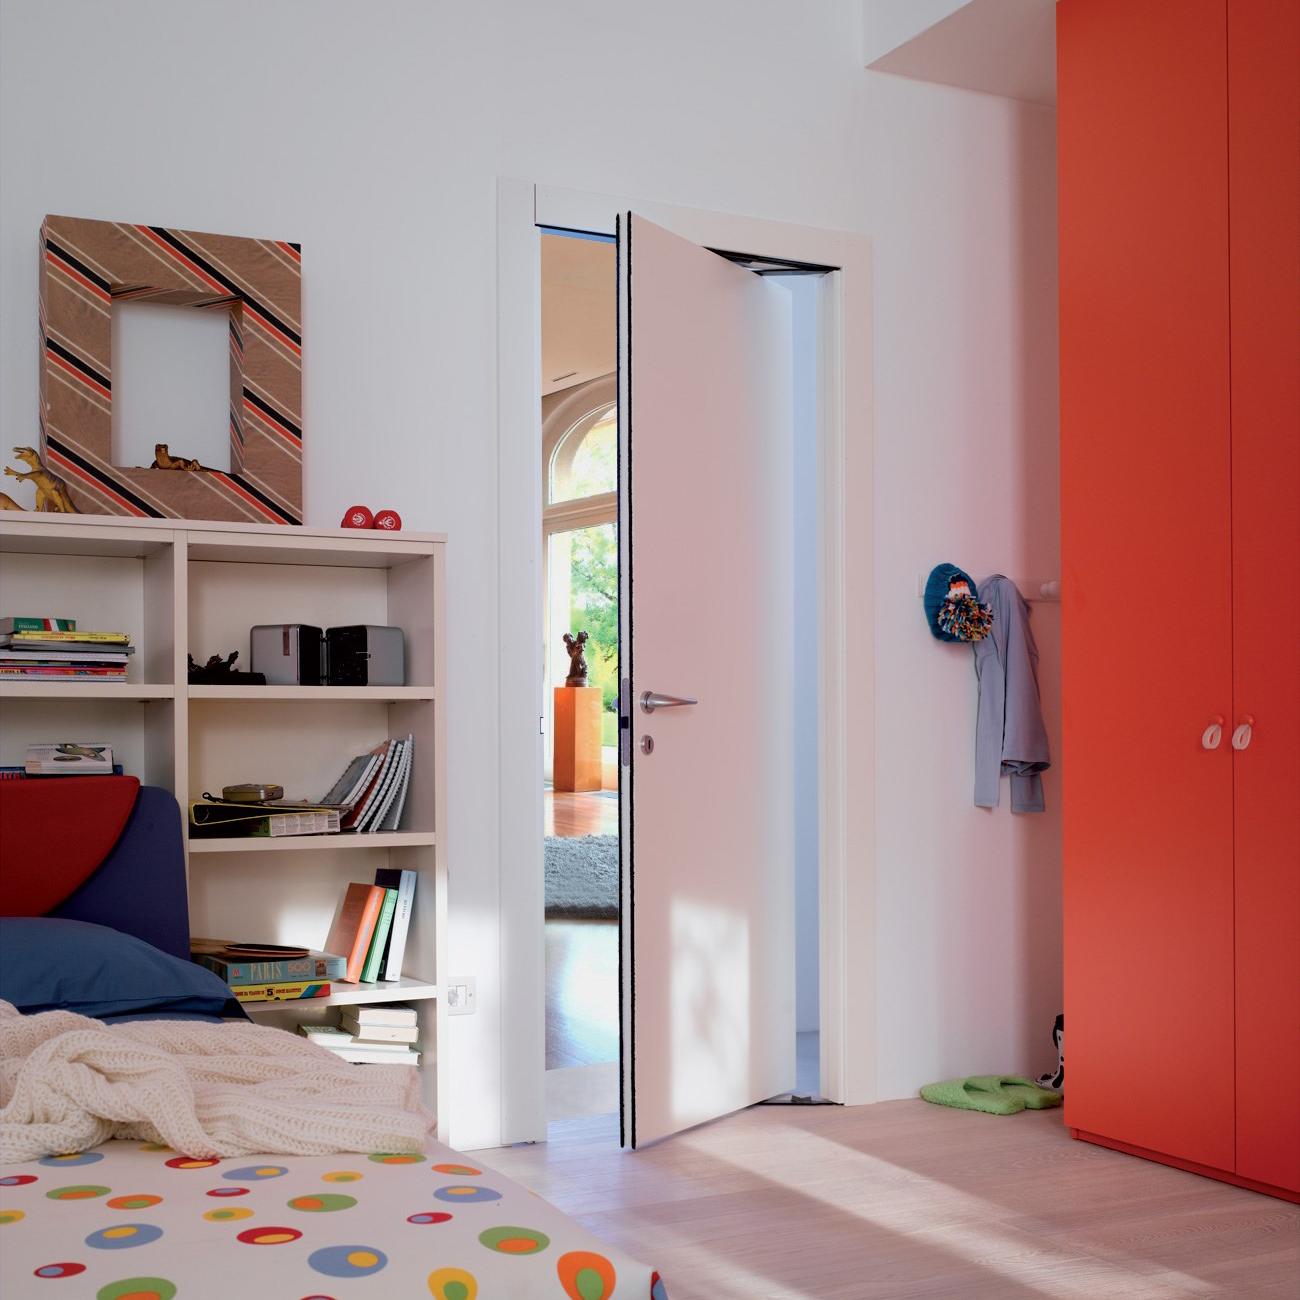
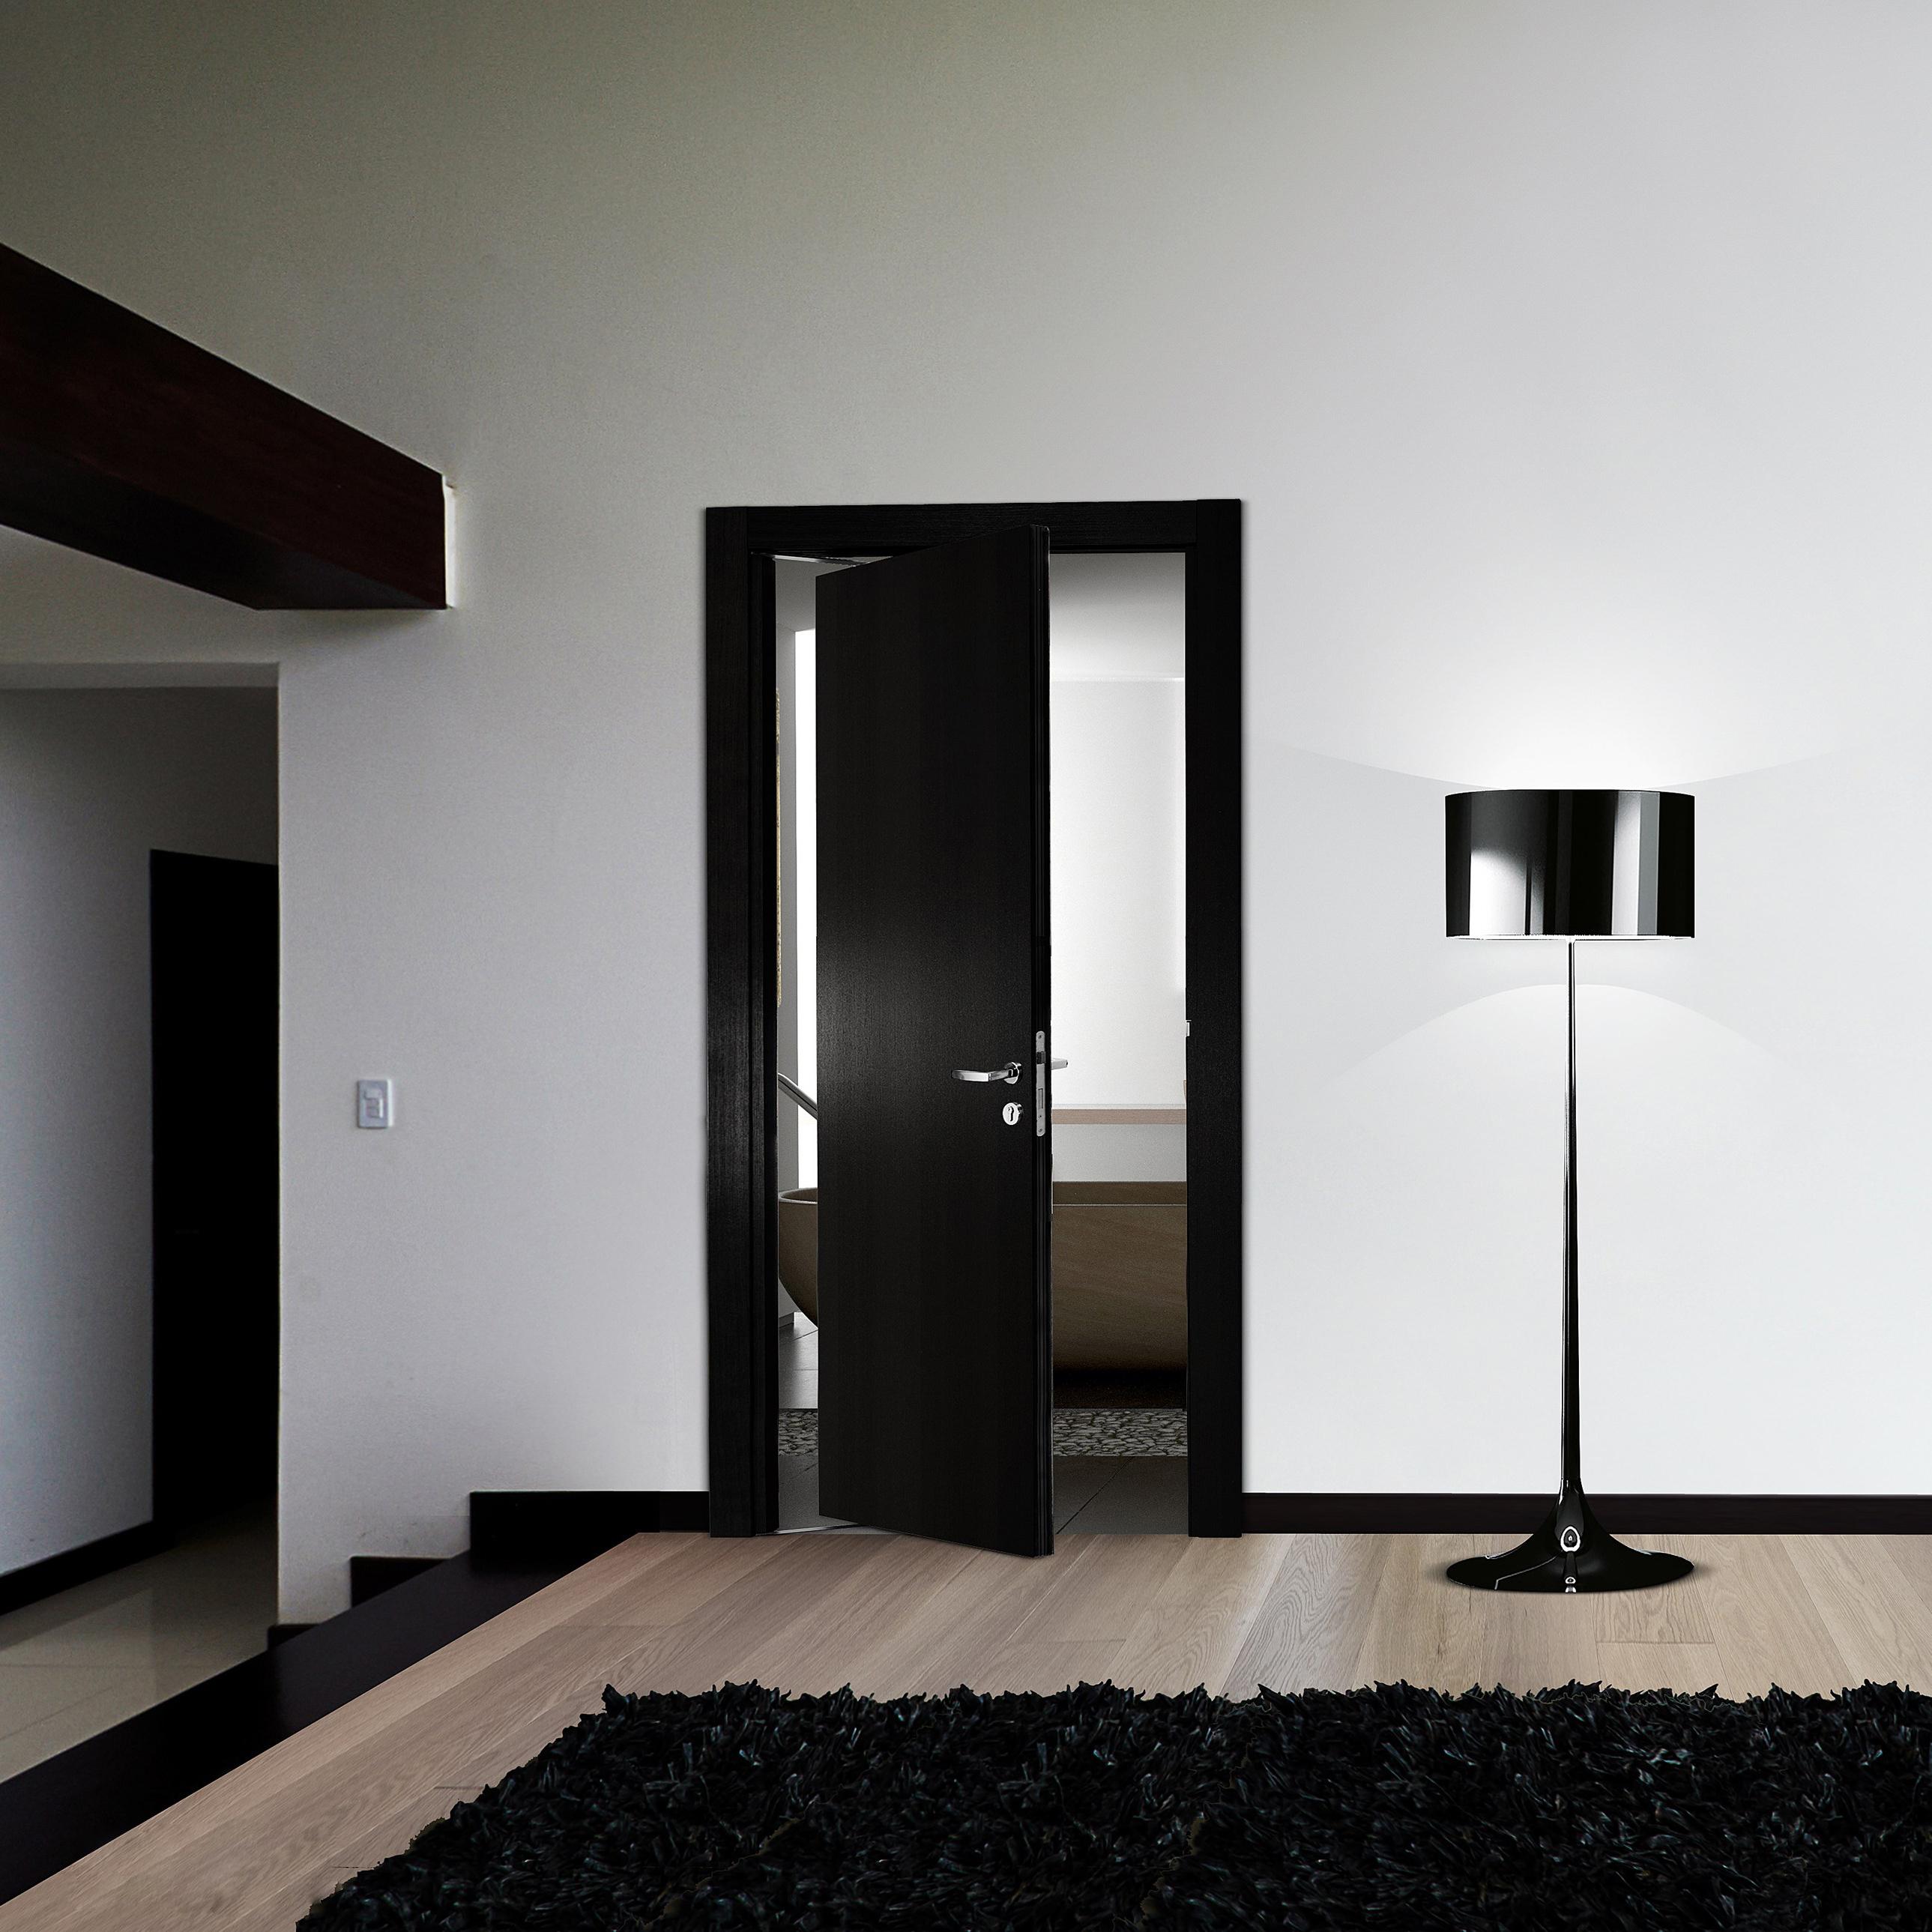
Instead of following a model, we created one. Wave is born, the minimal handle that combines grip and closure.
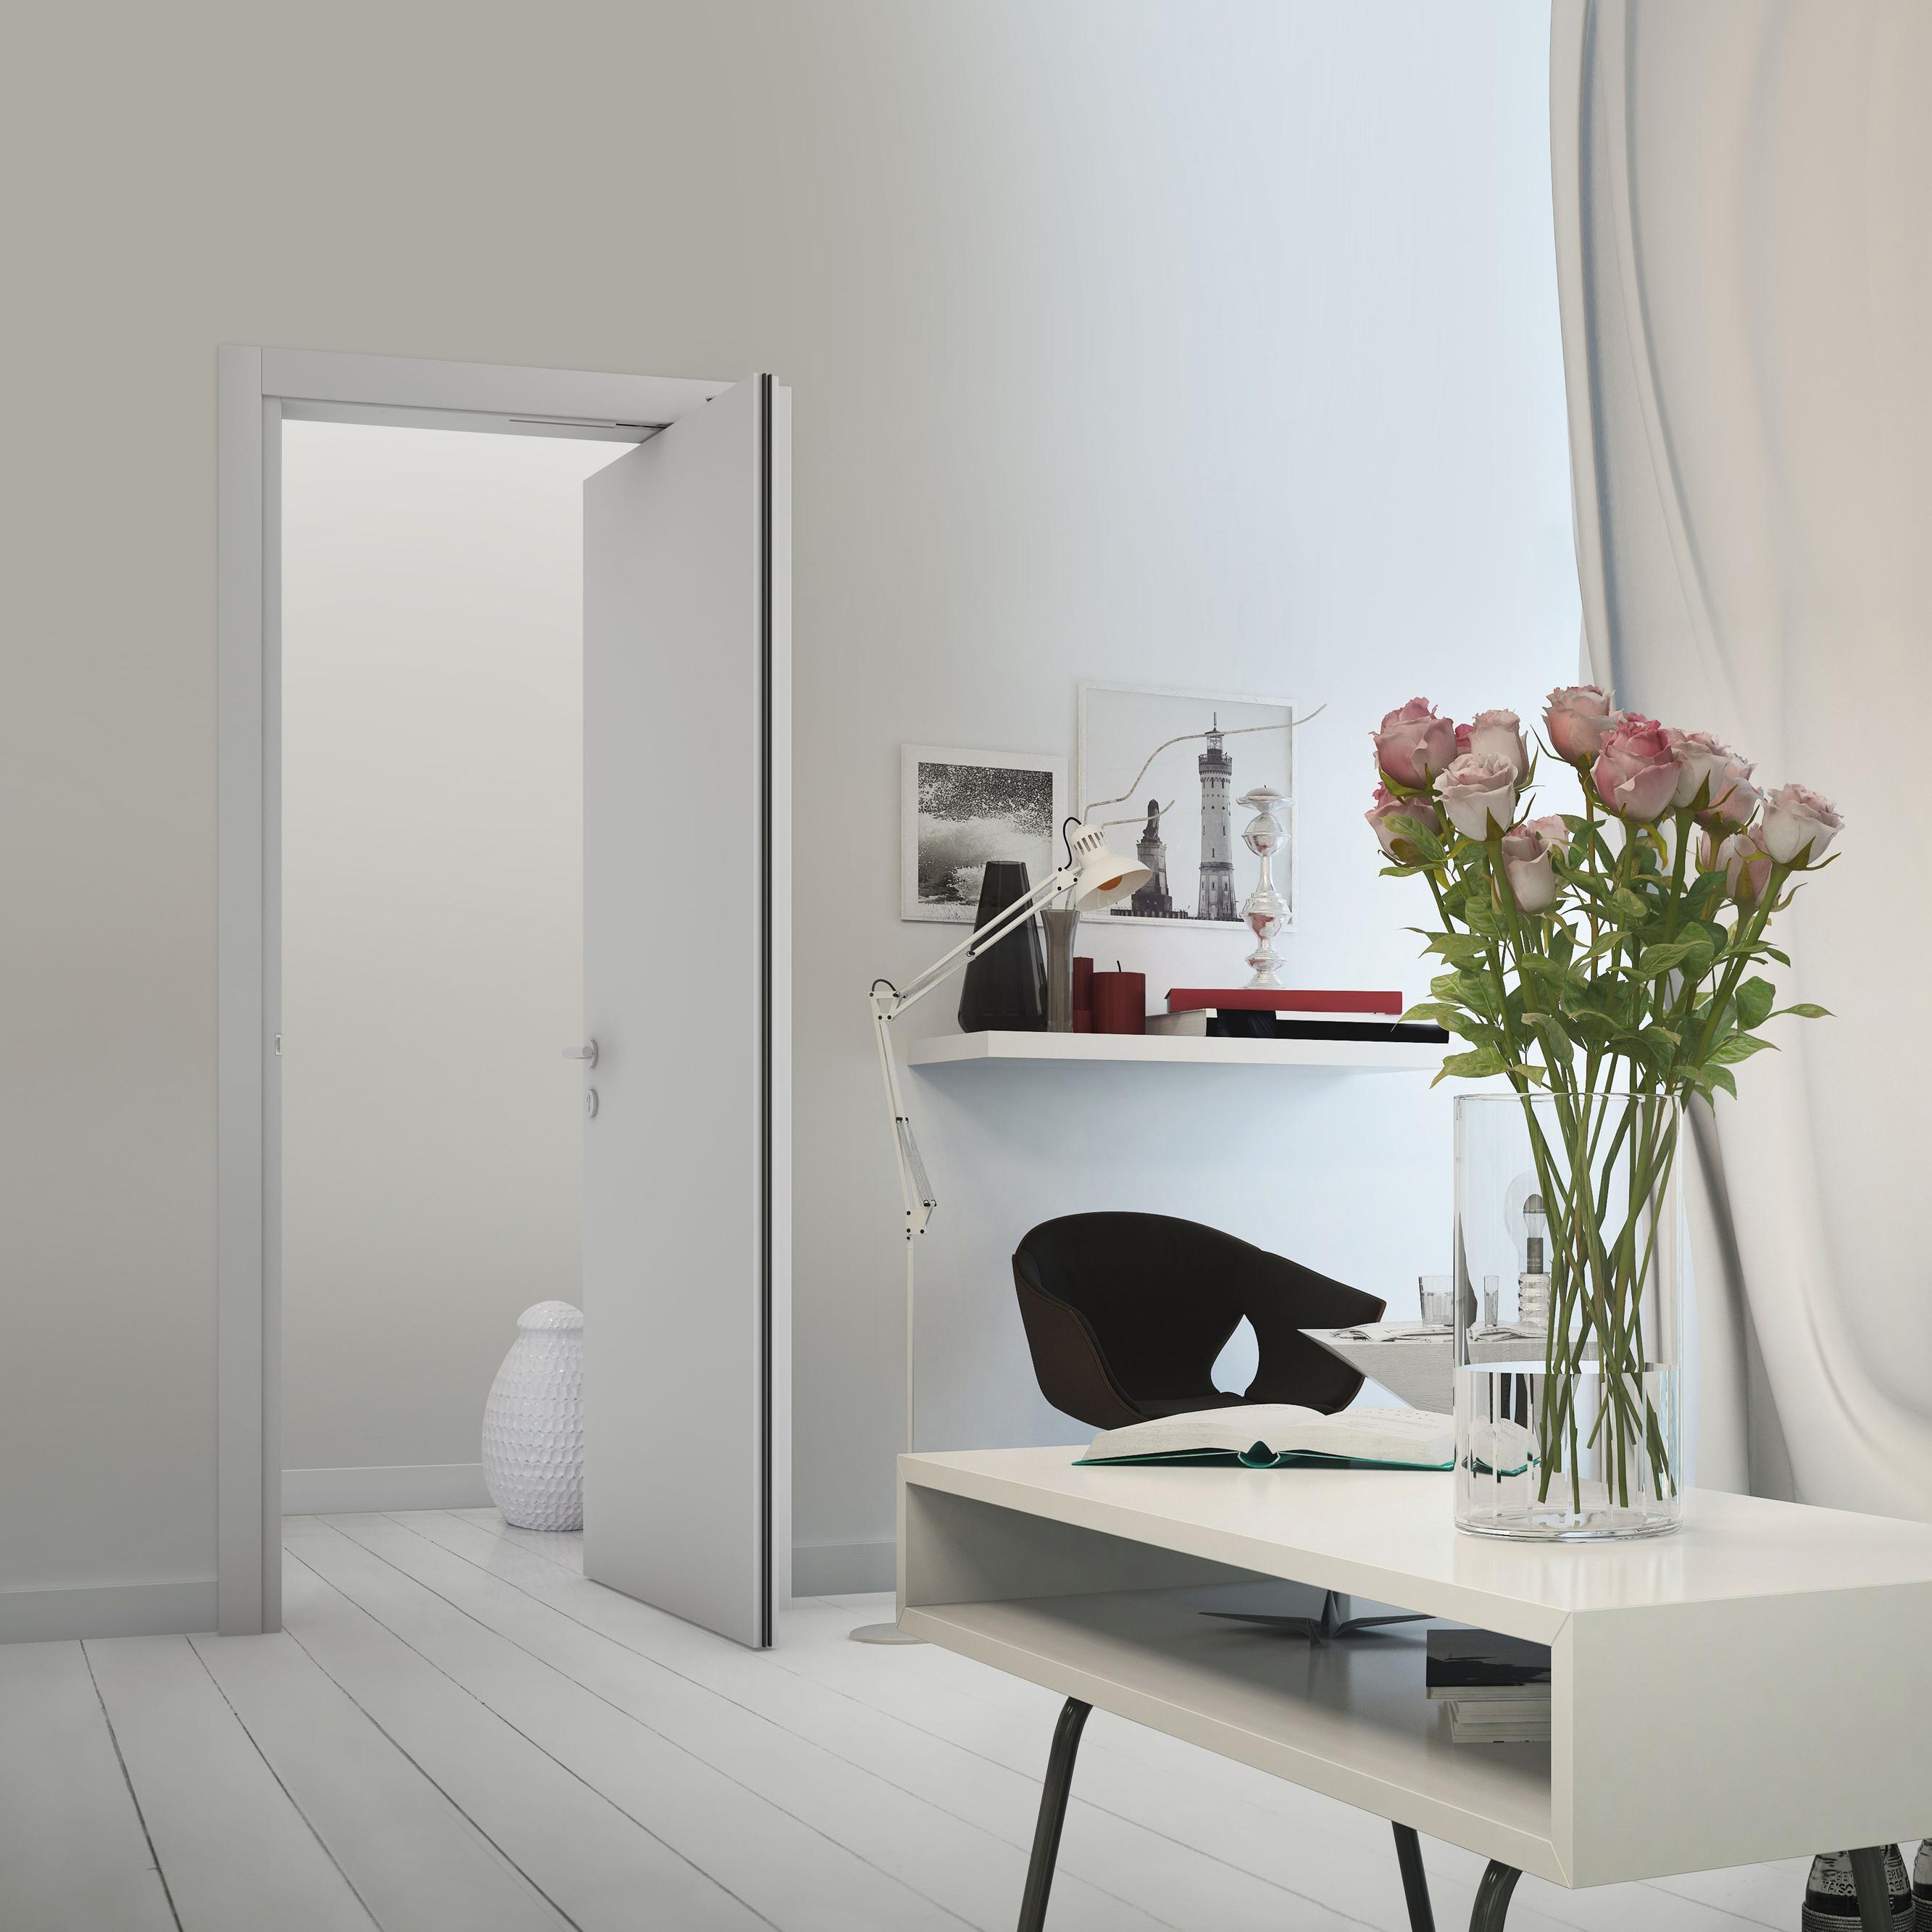
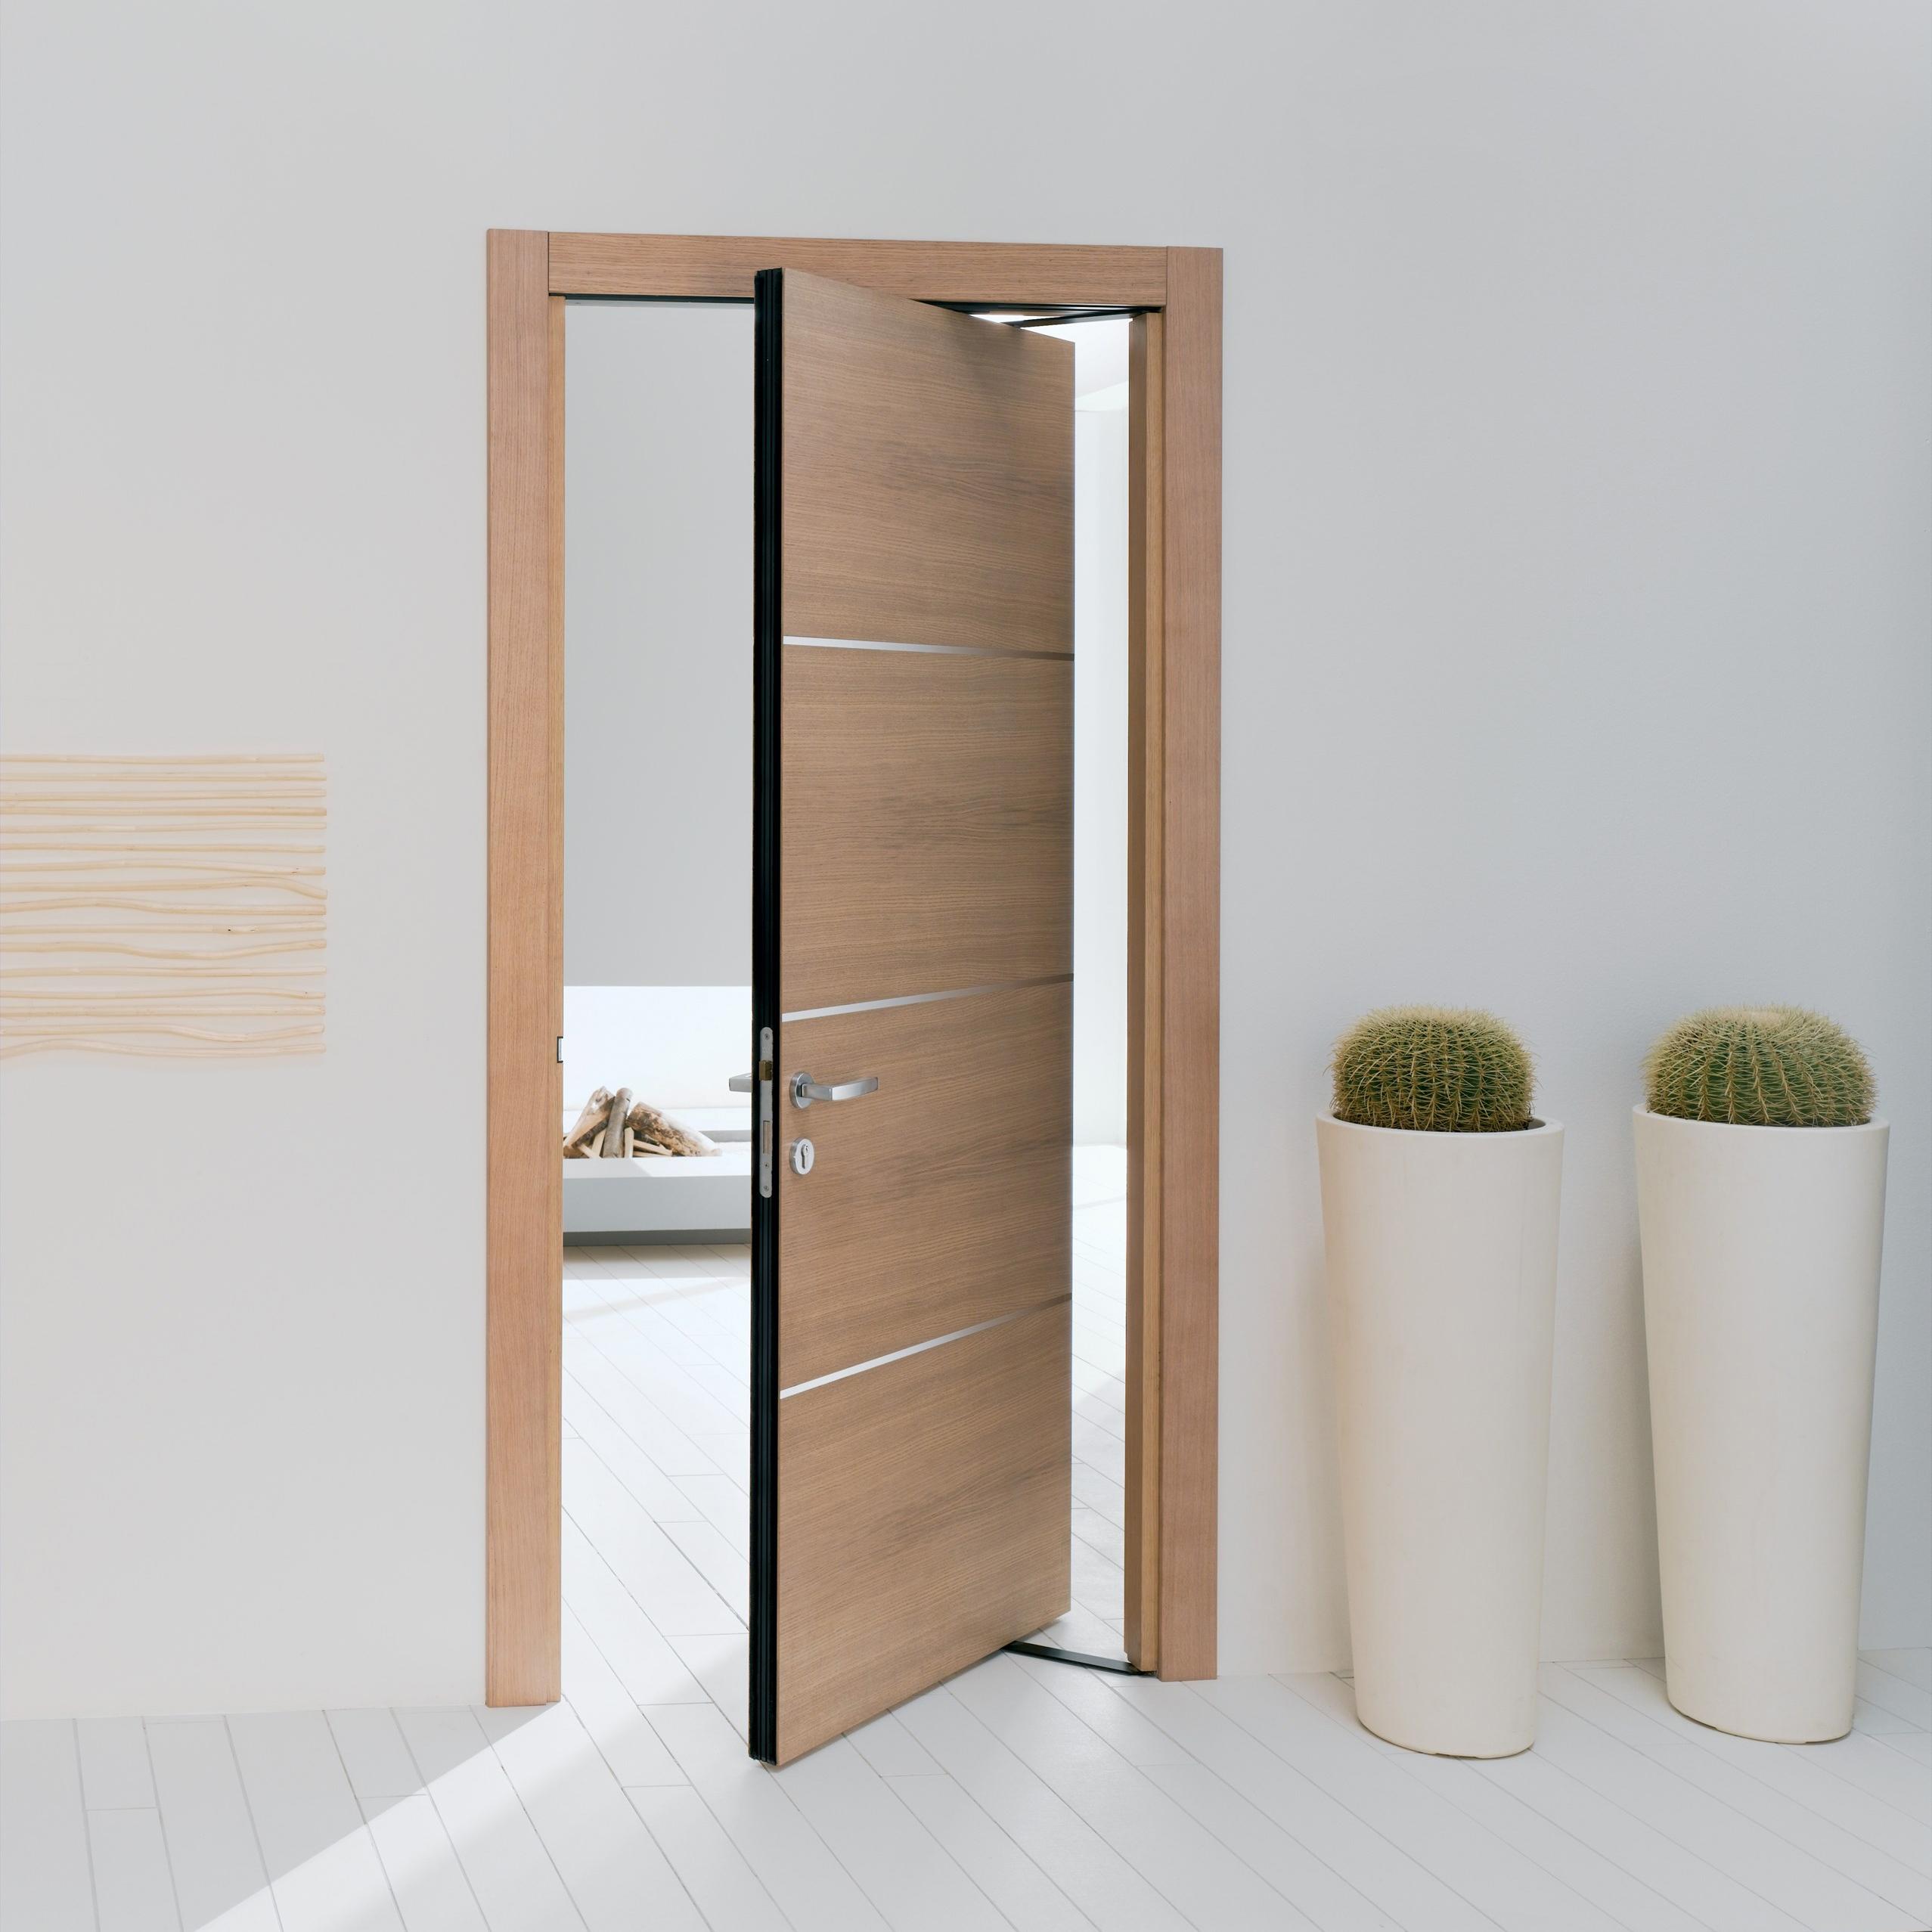
Wave's unique design integrates itself with the surface: square within a square, plane on a plane.
For a more visual walkthrough, check out our installation video below.
If you prefer a written guide, click the appropriate link to download:
Milcasa Magic 2 Installation Guide
Step 1: Unbox Your Milcasa Magic 2
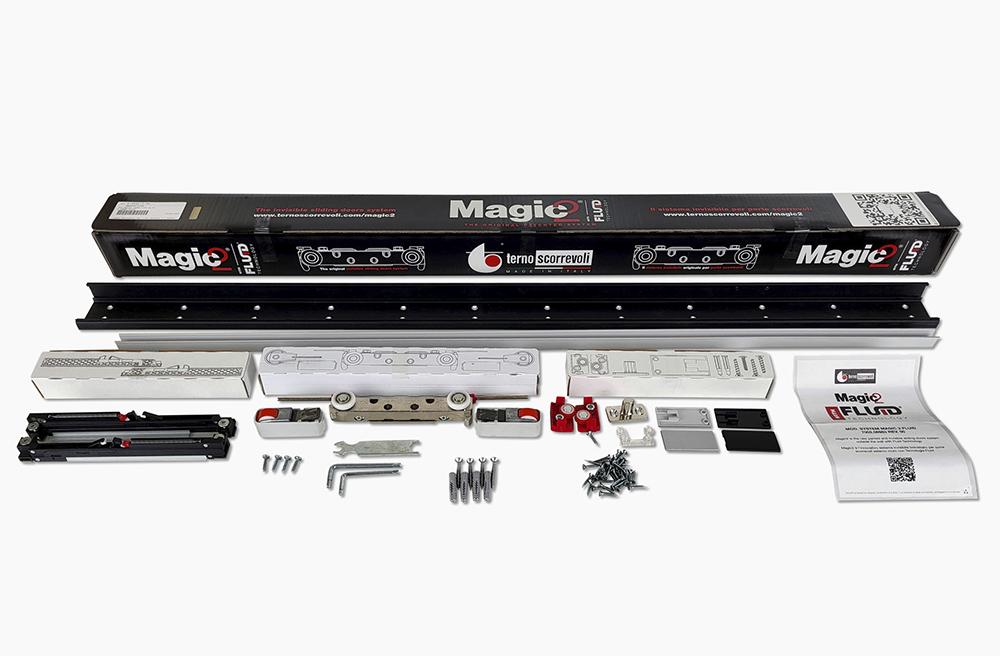
Carefully unpack your Milcasa Magic 2 sliding system. Each box includes the sliding mechanism, wall mounting plate, screws, and an easy-to-follow installation guide. Milcasa Magic 2 is designed to fit a wide array of door widths and thicknesses, providing you with flexibility and ease of installation
Step 2: Prepare the door slab according to the instructions
Fix the Upper Track and the Bottom Guide Track on your Door Slab. After that affix Supportive Bottom Wheel to the Bottom Guide Track and the Soft Closer to the Upper Track. Don't forget to install the Floor Guid.
For convenience and simplification of wooden milling work on the door, we have developed a blank. (must be ordered separately).
Template for the inset of the Magic 2 Concealed Sliding System
For a more visual walkthrough, check out our installation video below.
If you prefer a written guide, click the appropriate link to download:
For a more visual walkthrough, check out our installation video below.
If you prefer a written guide, click the appropriate link to download:
ERGON® LIVING- The Designer's Choice
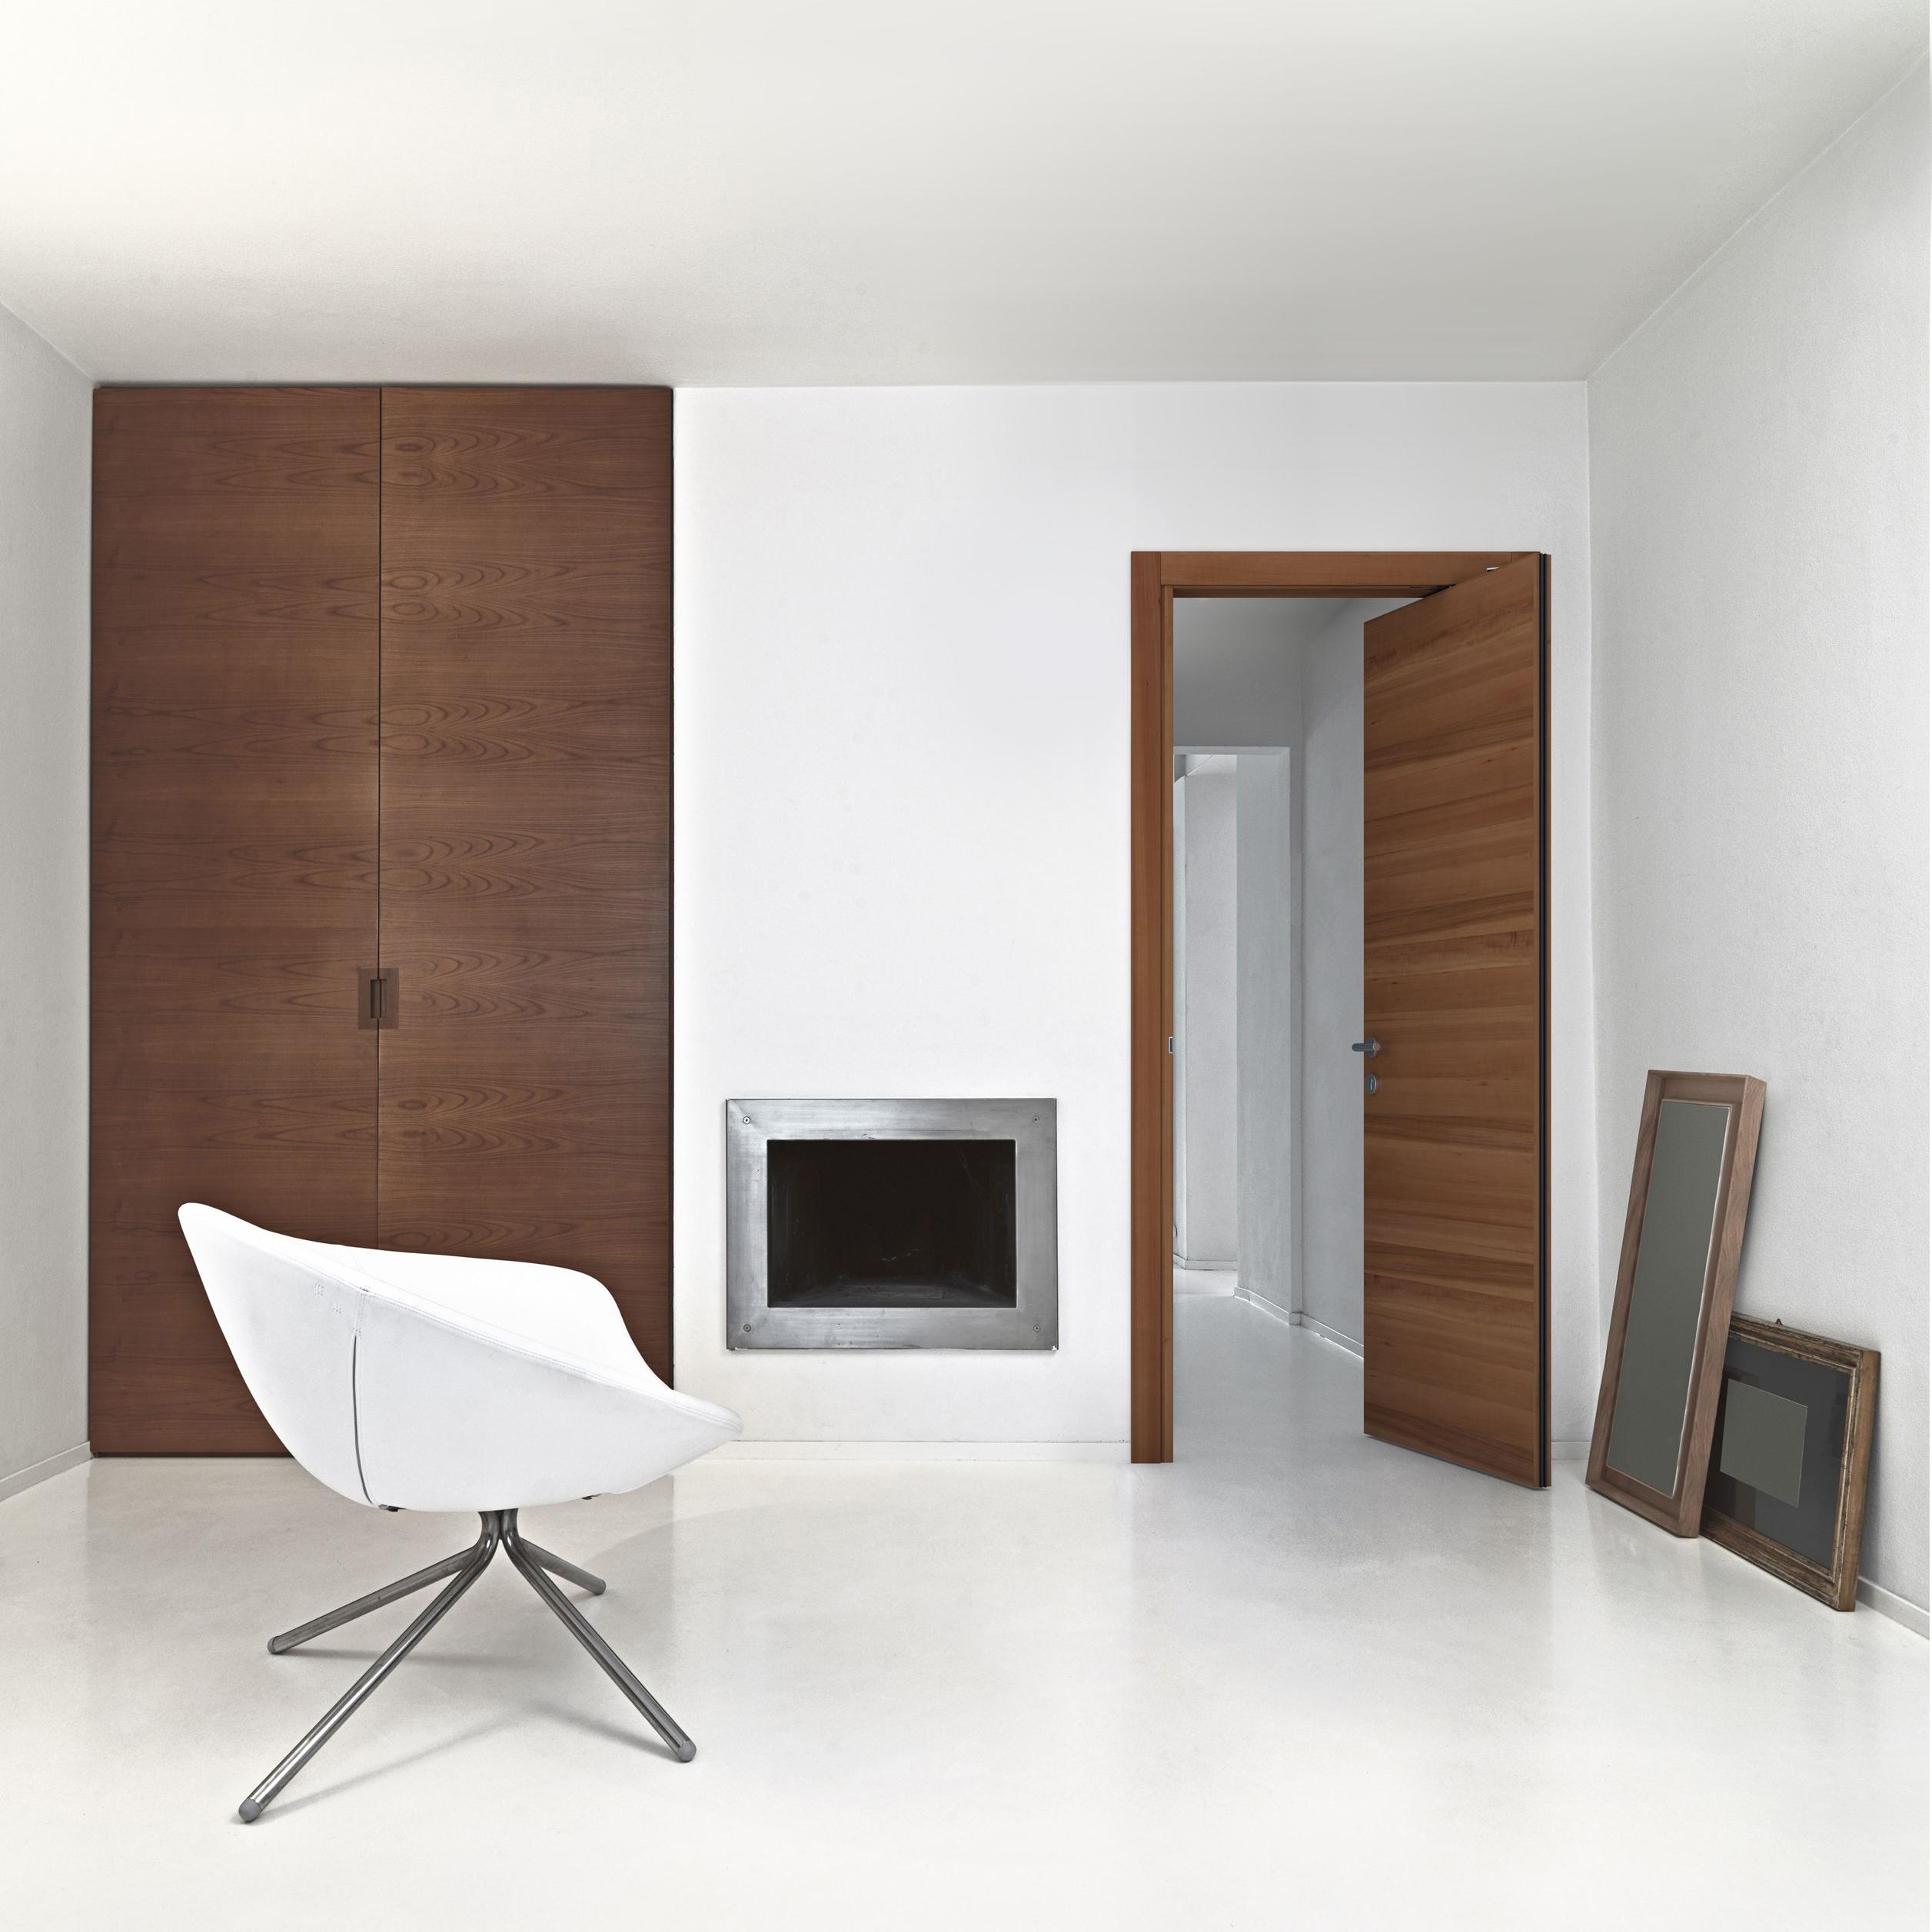
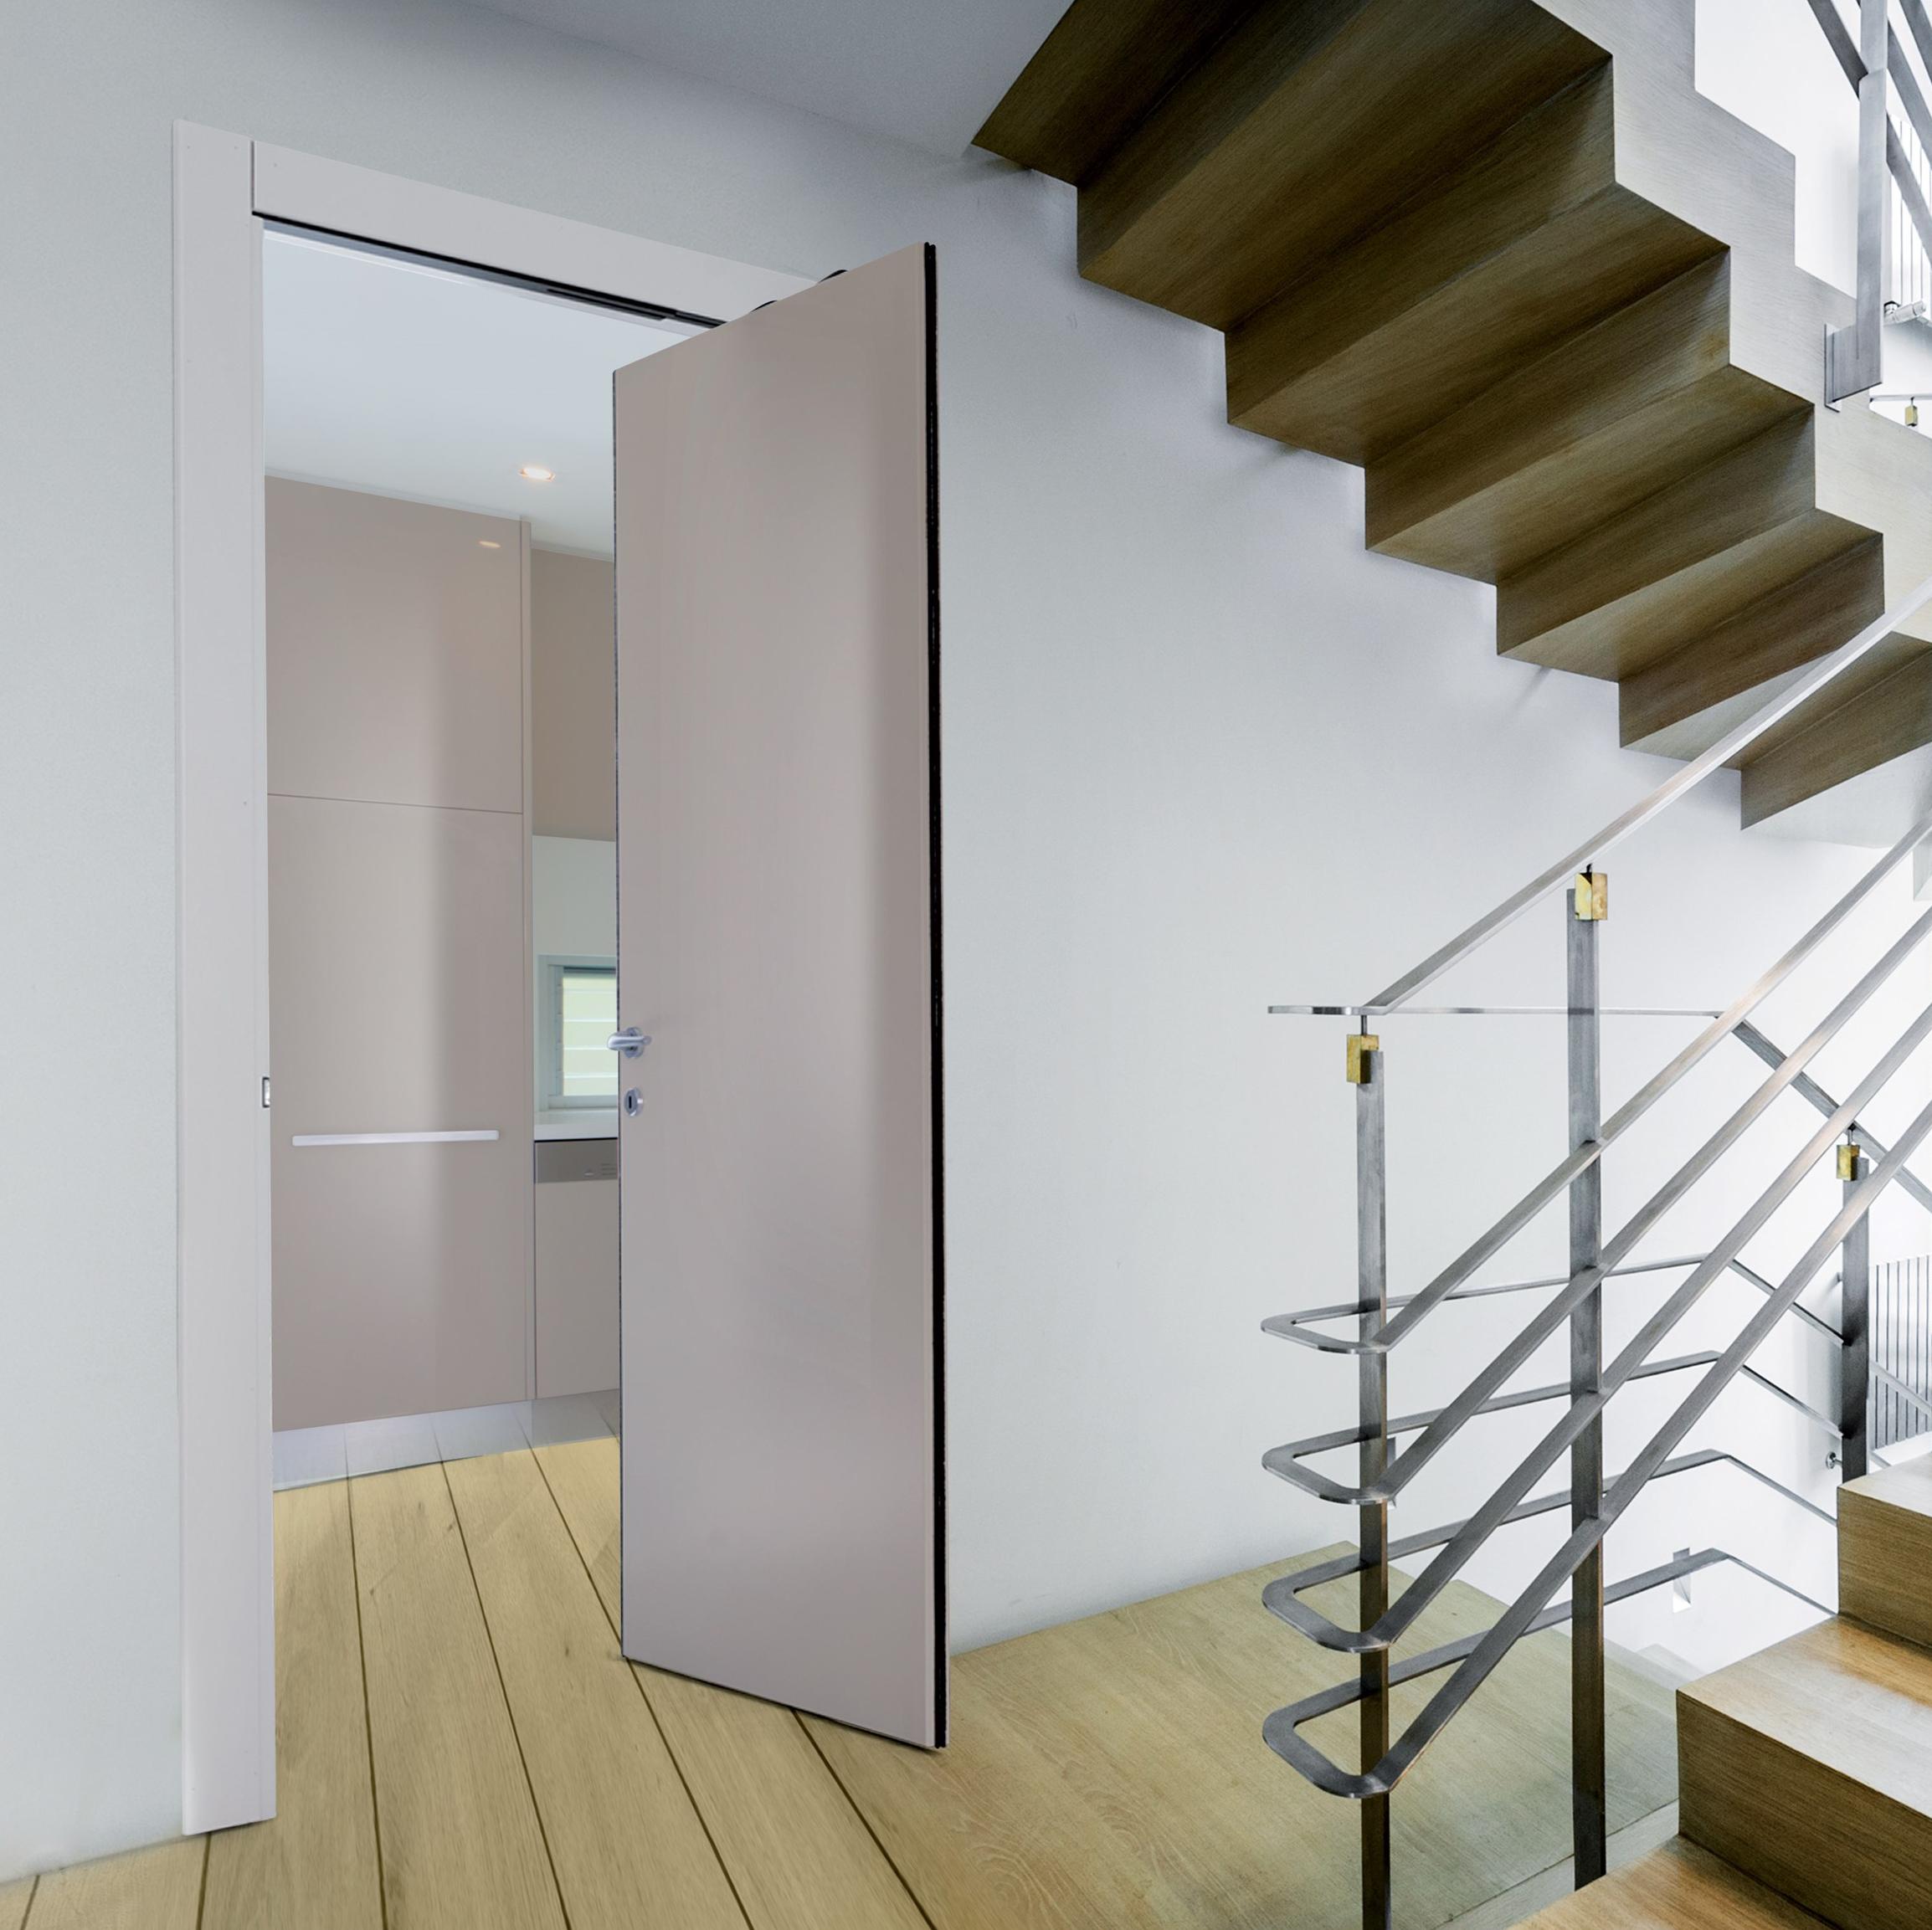
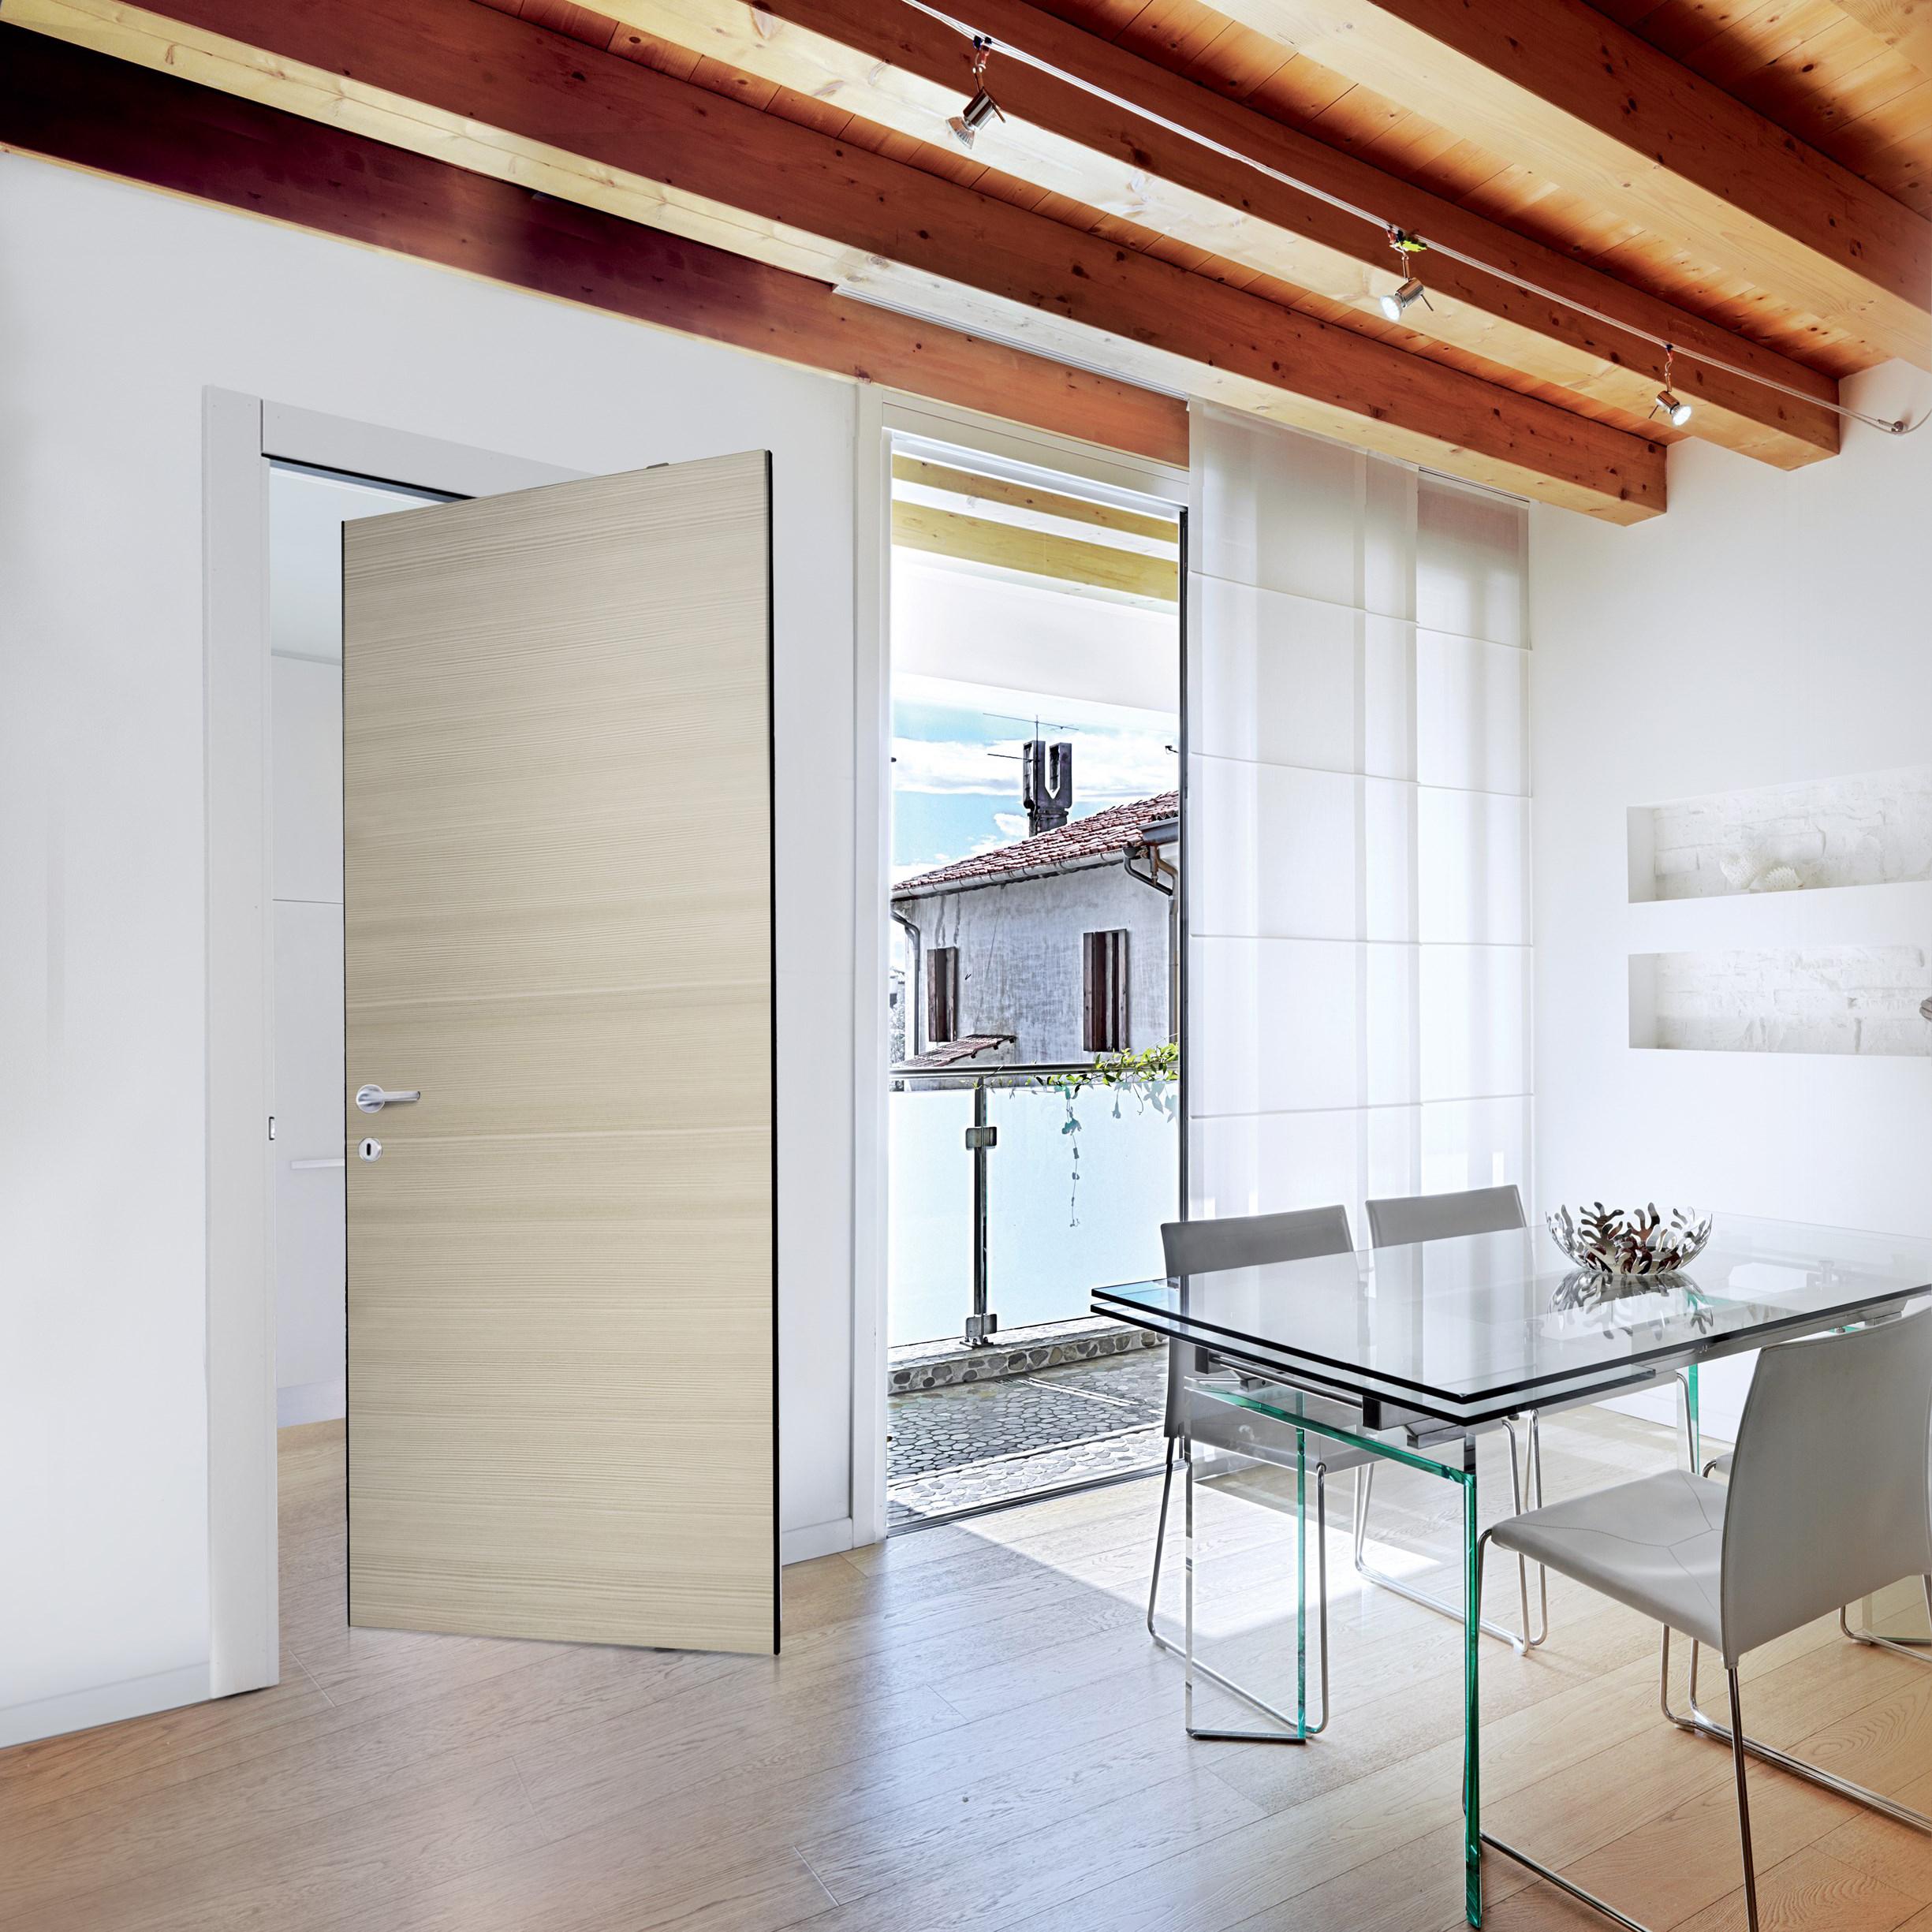
See how ERGON® LIVING" seamlessly integrates into various interior designs, lending its minimalist charm
while saving space and enhancing functionality.
For a more visual walkthrough, check out our installation video below.
If you prefer a written guide, click the appropriate link to download:
Questions & Answers
To make the system installation easier, you can use our special Template for the inset of the Magic 2 Concealed Sliding System.
The template is intended for the inset of the bottom roller of the Magic System.
The minimum door thickness is 1-1/8”
The Milcasa Magic2 Hardware is reversible and can be mount on both left and right handed doors
Maximum Door Weight is 176 lb. (80Kg)
There is no maximum door height, as long as it weight less than 176 lb.
The maximum door width for Magic2 - 1100 version is 43-1/2”
The maximum door width for Magic2 - 1800 version is 71”
You can recess upper running track into the door for clearance from ½” up to 1-1/4”.
Door overlaps one side of frame 2" (50 mm) and opposite, 6-5/8" (168 mm) when in the fully closed position (dimensions depending on door width and type of installation)Net opening width = DOOR WIDTH (-) 8-5/8" (219 mm)
The bottom rollers need to run on a solid floor (hardwood, tiles, concrete)
Carpet or other soft floors required installation of running track (purchase separately)
The kit includes all necessary hardware for 1 door (Door Slab and Handle not included)
The Milcasa Magic2 1100 system weights 5 lb.
The Milcasa Magic2 1800 system weights 7 lb.
The Milcasa Magic2 1100 system - 44" x 3" x 3"
The Milcasa Magic2 1800 system - 72" x 3" x 3"
No, this system is for interior doors only.
We would recommend you to order door slab 36” x 84”
Your door has to be at least 4” taller and 3”- 8” wider than your door opening8”-8.5” will give you full opening of the doorway.
40 mm (1.57") gap required between the sealing and top of the door.
Yes, It can.
The Milcasa Magic Door is type of modern barn door. That would still leave the gap between the door and the wall. Any lock that works with a barn door would also work with a Milcasa Magic Door.
Unfortunately, it will not. Your floor must be levelled. Only 2-3 mm allowed.
For a more visual walkthrough, check out our installation video below.
If you prefer a written guide, click the appropriate link to download:
Expert Advice
Safety First
Always ensure that the chosen location can safely support the weight of the door before beginning Magic 2 installation. Use a stud finder to detect any wires or pipes.
Teamwork
It's recommended to work in pairs when installing Magic 2 for safety and efficiency. This is especially important when installing heavy wooden doors.
Right Tools for the Job
Make sure you have all the necessary tools before starting the installation. This helps ensure a smooth installation process.
Door Preparation
Ensure your door is properly prepared and suited for Magic 2 before installing the sliding mechanism.
Testing
After completing the installation, ensure you thoroughly test the system to ensure the door smoothly and safely moves along the track.
System Maintenance
To ensure the longevity of your Magic 2, regularly check and clean the track and mechanism.
Your journey with ERGON® LIVING starts here. It's time to bring modern design and unmatched functionality to your doors.
If you have any questions or need further assistance, reach out to our customer support team.
Enjoy the seamless integration of ERGON® LIVING!
For a more visual walkthrough, check out our installation video below.
If you prefer a written guide, click the appropriate link to download:

